Raspberry PI WiFi Access Point with TLS Inspection
This is a how-to guide for setting up a Raspberry Pi as a WiFi Access Point, which acts as a transparent TLS proxy and saves the decrypted traffic in PCAP files.
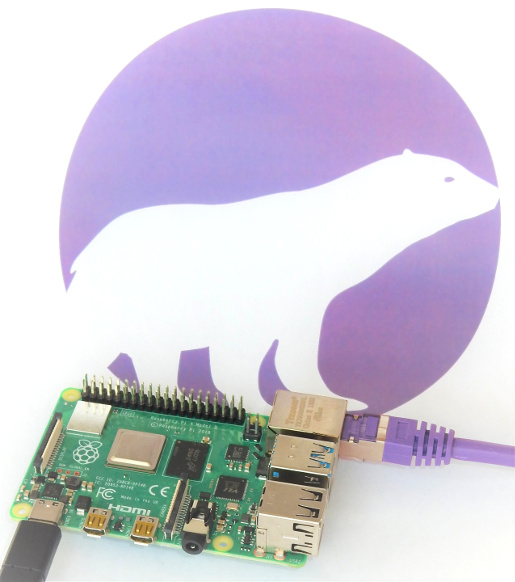
Image: Raspberry Pi 4 Model B running PolarProxy
Step 1: Install PolarProxy for Linux ARM
We will start with installing PolarProxy, which will be used for the TLS decryption and re-encryption. The steps are almost identical to those in the official PolarProxy installation guide, except here we will download the "linux-arm" build of PolarProxy instead of the x64 version.
sudo mkdir /var/log/PolarProxy
sudo chown proxyuser:root /var/log/PolarProxy/
sudo chmod 0775 /var/log/PolarProxy/
sudo su - proxyuser
mkdir ~/PolarProxy
cd ~/PolarProxy/
curl https://www.netresec.com/?download=PolarProxy_linux-arm | tar -xzf -
exit
sudo cp /home/proxyuser/PolarProxy/PolarProxy.service /etc/systemd/system/PolarProxy.service
sudo systemctl enable PolarProxy.service
sudo systemctl start PolarProxy.service
Note: The installation instructions above will fail on 64-bit ARM Linux OS's since the downloaded PolarProxy tarball is compiled for 32-bit ARM Linux.
Luckily, we do have a
https://www.netresec.com/?download=PolarProxy_linux-arm64
Verify that the PolarProxy service is running as expected with these commands:
journalctl -t PolarProxy
Step 2: Set up your Pi as a WiFi AP
The Raspberry Pi Foundation have a great guide for "Setting up a Raspberry Pi as a Wireless Access Point". Follow the instructions in their guide for the NAT mode setup (first section), but replace the iptables config with this:
sudo iptables -A INPUT -i wlan0 -p tcp --dport 10443 -m state --state NEW -j ACCEPT
sudo iptables -t nat -A PREROUTING -i wlan0 -p tcp --dport 443 -j REDIRECT --to 10443
Step 3: Configure the Clients
The final step is to connect the clients (phones, tablets or computers) to the Raspberry Pi WiFi Access Point and install the root CA from PolarProxy.
Follow the instructions for "Trusting the PolarProxy root CA" in the official PolarProxy setup guide to install the public certificate from the TLS proxy in your clients.
The certificate can be downloaded from the Raspberry Pi by browsing to
PCAP PCAP PCAP
Your Raspberry Pi WiFi AP will now intercept all HTTPS traffic going to tcp/443 and save the decrypted traffic in PCAP files, one per hour.
The PCAP files with decrypted TLS traffic can be found in the
proxy-190925-075704.pcap proxy-190925-152902.pcap
proxy-190925-085704.pcap proxy-190925-162902.pcap
proxy-190925-095704.pcap proxy-190925-172902.pcap
proxy-190925-105704.pcap proxy-190925-182902.pcap
proxy-190925-115704.pcap proxy-190926-062902.pcap
proxy-190925-125704.pcap proxy-190926-072902.pcap
proxy-190925-132704.pcap proxy-190926-082902.pcap
proxy-190925-132902.pcap proxy-190926-092902.pcap
proxy-190925-142902.pcap proxy-190926-102902.pcap

Image: Decrypted HTTP/2 traffic to Facebook opened in Wireshark
Posted by Erik Hjelmvik on Thursday, 26 September 2019 11:37:00 (UTC/GMT)
Tags: #PolarProxy #PCAP #WiFi #TLS #SSL #HTTPS #Wireshark #http2

