Remote Packet Dumps from PacketCache

This blog post describes how to dump a packet capture (pcap file) on a remote computer, which runs the PacketCache service, and retrieve that pcap file using only PowerShell.
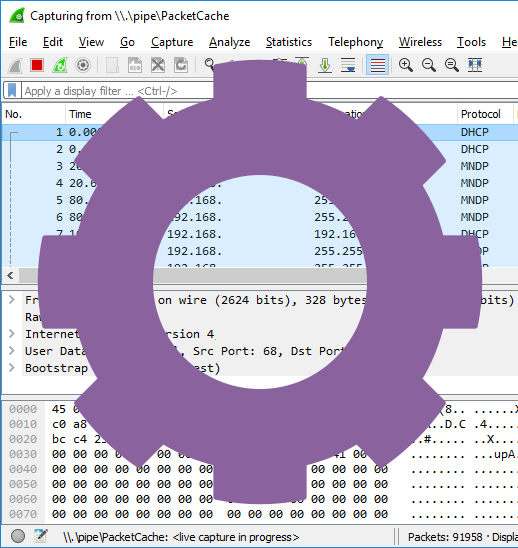
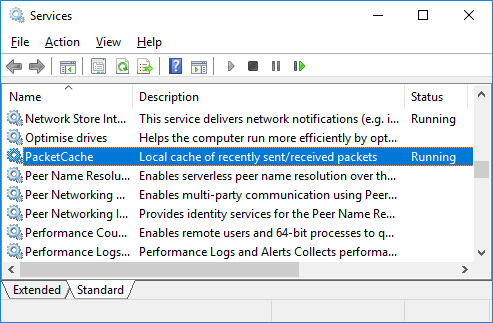
PacketCache is a free Windows service that continously sniffs network traffic on all interfaces (Ethernet, WiFi, 3G, LTE etc) and maintains a cache of the most recent traffic in RAM. This enables incident responders to read PCAP data out of a PC's PacketCache, for example when an IDS or anti-virus alerts on something potentially malicious. Unfortunately, there is no central management tool for PacketCache, which means that the PCAP data has to be dumped locally at the PC that triggered the IDS or AV alert.
There are a few workarounds "hacks" available to solve this problem, but the most elegant solution is to leverage PowerShell Remoting / WinRM in order to trigger a remote PacketCache instance to create a PCAP file and then copy the PCAP file through the same PowerShell session. To make things even simpler we've created a PowerShell script that can be used to download a PCAP file from any machine running PacketCache. Okay, maybe not *any* machine, the script only works on PCs that you have admin credentails for. Nevertheless, here's how you run the script from a PowerShell prompt:
[*] Dumping PacketCache at DESKTOP-LT4711
[*] Copying PCAP dump from DESKTOP-LT4711
[*] Remote PacketCache data saved to DESKTOP-LT4711_181112_1337.pcap
PS C:\>
The ReadRemotePacketCache.ps1 script can be downloaded from the PacketCache product page.
Configuring Hosts for PowerShell Remoting
If you have not previously set up your environment for PowerShell remoting, then you will need to follow these steps before invoking the "ReadRemotePacketCache.ps1" script as above.
On the remote PC, start PowerShell as administrator and enable PowerShell remoting with the "Enable-PSRemoting" command as shown here:
WinRM has been updated to receive requests.
WinRM service type changed successfully.
WinRM service started.
WinRM has been updated for remote management.
WinRM firewall exception enabled.
Configured LocalAccountTokenFilterPolicy to grant administrative rights remotely
to local users.
PS C:\>
Configuring TrustedHosts for Workgroups
You will also need to set up a trust relationship between the local and remote host. If the remote PC is member of an Active Directory domain, then this trust is already in place. However, if you're in a workgroup or the computers are not in the same domain, then you will need to set the TrustedHosts item like this on both the local PC and the remote PC:
PS C:\> Get-Item WSMan:\localhost\Client\TrustedHosts
PS C:\> Restart-Service WinRM
Note: if you need to dump PacketCache data from several remote hosts, then you can replace the IP/hostname with '*' to trust any PC or supply a comma separated list of individual hostnames or IPs to trust.
If you've configured TrustedHosts correctly, then you should be able to run the "ReadRemotePacketCache.ps1" script as shown previously. However, if the remote PC isn't in TrustedHosts, then you'll most likely get an error message like this:
New-PSSession : [10.0.13.37] Connecting to remote server 10.0.13.37 failed with the following error message : The WinRM client cannot process the request. If the authentication scheme is different from Kerberos, or if the client computer is not joined to a domain, then HTTPS transport must be used or the destination machine must be added to the TrustedHosts configuration setting. Use winrm.cmd to configure TrustedHosts. Note that computers in the TrustedHosts list might not be authenticated. You can get more information about that by running the following command: winrm help config. For more information, see the about_Remote_Troubleshooting Help topic.
Automating Remote Artifact Collection
With PowerShell remoting in place you're not limited to just dumping packets from a remote PacketCache service, you can also dump the RAM or copy individual files from the remote computer. This comes in handy in order to implement an automated evidence/artifact collection, for example when a high-severity alert is received by your SIEM.
There are frameworks in place that can help with aquisition of memory and files, such as Matthew Green's Invoke-LiveResponse tool, which can dump memory with WinPMEM and leverage PowerForensics to enable remote raw disk access. Some organizations even start sniffing packets at events like this, but this will only capture the traffic from after a potential compromize. This is where PacketCache comes in, since it can allow you to retrieve packets ranging back as far as a couple of days before the alert.
Credential Theft
It is recommended to use unique passwords for each local account with administrator rights. This practice is extra important if you plan to log into a potentially compromized host using administrator credentails, as described in this blog post. You might also want to lock down the local admin accounts even further in order to minimize the consequences of the admin credentials falling into the wrong hands. See Microsoft's articles on "Local Accounts" and "Attractive Accounts for Credential Theft" for more recommendations regarding how to secure local admin accounts.
PacketCache is Free
 PacketCache is free to use, even commercially. It is released under a Creative Commons
Attribution-NoDerivatives 4.0 International License, which means that you can copy and redistribute PacketCache
in any medium or format for any purpose. You can download PacketCache here:
https://www.netresec.com/?page=PacketCache
The PowerShell script presented in this blog post is also shared under the same CC license and can be downloaded from the PacketCache product page.
Credits
I'd like to thank Dick Svensson for suggesting the use of PowerShell Remoting to read PacketCache data remotely!
Posted by Erik Hjelmvik on Wednesday, 14 November 2018 08:00:00 (UTC/GMT)
Tags: #Netresec #PCAP #PowerShell #PacketCache #Windows


