PolarProxy in Podman

Podman is a daemonless Linux container engine, which can be used as a more secure alternative to Docker. This blog post demonstrates how to run PolarProxy in a rootless container using Podman. If you still prefer to run PolarProxy in Docker, then please read our blog post "PolarProxy in Docker" instead.
Install Podman and fuse-overlayfs
Install Podman according to the official Podman installation instructions. Then install fuse-overlayfs, which is an overlay file system for rootless containers. Fuse-overlayfs can be installed in Debian/Ubuntu with "sudo apt install fuse-overlayfs" and in CentOS with "sudo yum install fuse-overlayfs".
Create a Podman Image for PolarProxy
Create a Dockerfile with the following contents:
EXPOSE 10443
EXPOSE 10080
EXPOSE 57012
RUN groupadd -g 31337 polarproxy && useradd -m -u 31337 -g polarproxy polarproxy && mkdir -p /var/log/PolarProxy /opt/polarproxy && chown polarproxy:polarproxy /var/log/PolarProxy && apt-get update && apt-get install -y curl && curl -s https://www.netresec.com/?download=PolarProxy | tar -xzf - -C /opt/polarproxy
USER polarproxy
WORKDIR /opt/polarproxy/
ENTRYPOINT ["dotnet", "PolarProxy.dll"]
CMD ["-v", "-p", "10443,80,443", "-o", "/var/log/PolarProxy/", "--certhttp", "10080", "--pcapoverip", "57012"]
Save the Docker file as "Dockerfile" (no extension) in an empty directory and start a shell in that directory.
Update (2024-05-02): Additional dockerfiles can now be found in https://github.com/Netresec/PolarProxy/tree/main/dockerfiles
Build a PolarProxy Podman image with:
Test the PolarProxy Podman Image
Take the polarproxy Podman image for a test run. Start it with:
Establish an HTTPS connection through PolarProxy by running this curl command from another shell on the same machine:
If everything works alright, then curl should output HTML and the interactive Podman session running the polarproxy image should print something like:
<6>[10443] 127.0.0.1 -> N/A Connection from: 127.0.0.1:44122
<6>[10443] 127.0.0.1 -> www.netresec.com Connection request for: www.netresec.com from 127.0.0.1:44122
<6>[10443] 127.0.0.1 -> www.netresec.com Action: DECRYPT
Create a Podman Container for PolarProxy
Create directories "pcap" and "polarproxy", where PolarProxy should store the decrypted network traffic and its root CA certificate.
podman unshare chown 31337:31337 pcap polarproxy
Create a container called "polarproxy", which has the "pcap" and "polarproxy" directories mounted as volumes. The service on TCP 10080 will serve the proxy's public root cert over HTTP. The localhost:57012 service is a Pcap-over-IP server, from which the decrypted network traffic can be streamed in real-time.
Create and enable a systemd user service that will run the container.
podman generate systemd -n polarproxy > ~/.config/systemd/user/container-polarproxy.service
systemctl --user enable container-polarproxy.service
Enable the current user to start the polarproxy service at system start and have it persist over logouts:
Start the systemd user service to activate the PolarProxy container.
Verify that the service is running and that you can view the logs from PolarProxy.
podman logs polarproxy
Expose PolarProxy to the Network
Create a firewall rule to redirect incoming TCP 443 packets to the PolarProxy service listening on port 10443.Try making an HTTPS connection via PolarProxy from another PC on the network.
Don't forget to save the firewall redirect rule if it is working as desired!
Redirect HTTPS and Trust the Root CA
You can now redirect outgoing TCP 443 traffic from your network to your Podman/PolarProxy host. Review the "Routing HTTPS Traffic to the Proxy" section on the PolarProxy page for recommendations on how to redirect outgoing traffic to PolarProxy.
Finally, configure the operating system, browsers and other applications that will get their TLS traffic proxied by PolarProxy to trust the root CA of the PolarProxy service running in your Podman container. Follow the steps in the "Trusting the PolarProxy root CA" section of the PolarProxy documentation in order to install the root cert.
Accessing Decrypted TLS Traffic
You should be able to access PCAP files with the decrypted HTTPS traffic in the "pcap" directory.
It is also possible view the decrypted traffic in real-time by using netcat and tcpdump as a Pcap-over-IP client like this:
It probably makes more sense to forward the decrypted traffic to an IDS or other type of network security monitoring tool though. See our blog posts "Sniffing Decrypted TLS Traffic with Security Onion" and "Capturing Decrypted TLS Traffic with Arkime" for instructions on how to forward the decrypted network traffic to a network monitoring solution like Security Onion or Arkime.
PolarProxy in Podman on ARM Linux
PolarProxy can also run on ARM Linux installations, such as a Raspberry Pi. However, the Dockerfile must be modified slightly in order to do so.
Don't know if you're running a 32-bit or 64-bit OS? Run "uname -m" and check if the output says "armv7*" (arm32), "armv8*" (arm64) or "aarch64" (arm64).
See our blog post "Raspberry PI WiFi Access Point with TLS Inspection" for more details about deploying PolarProxy on a Raspberry Pi.
ʕ•ᴥ•ʔ + 🦭 = 💜
Posted by Erik Hjelmvik on Tuesday, 27 October 2020 18:33:00 (UTC/GMT)
Tags: #PolarProxy #Docker #TLS #HTTPS #Proxy #curl #PCAP #Dockerfile #DNAT #container #arm32 #arm64 #AArch64 #PCAP-over-IP #pcapoverip #systemctl #systemd


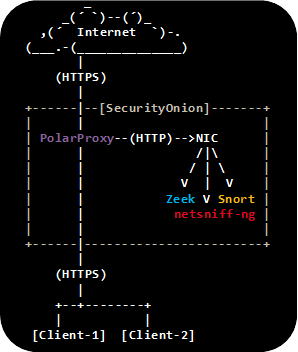
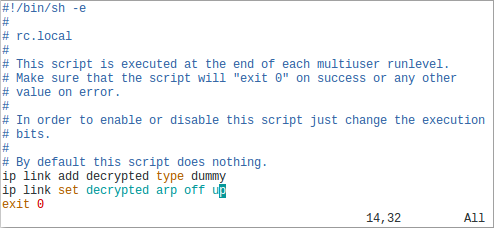
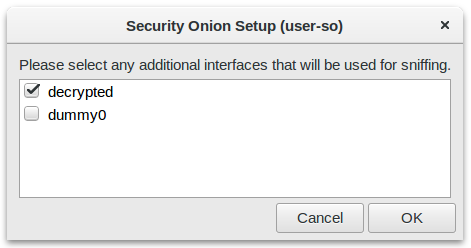
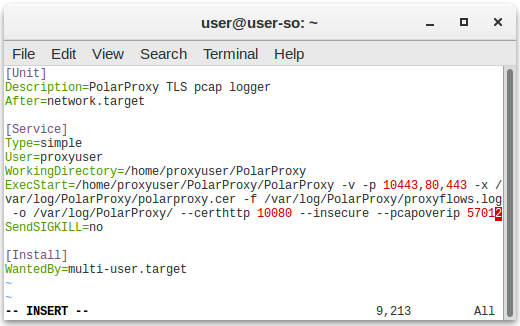
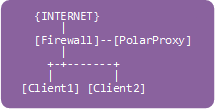
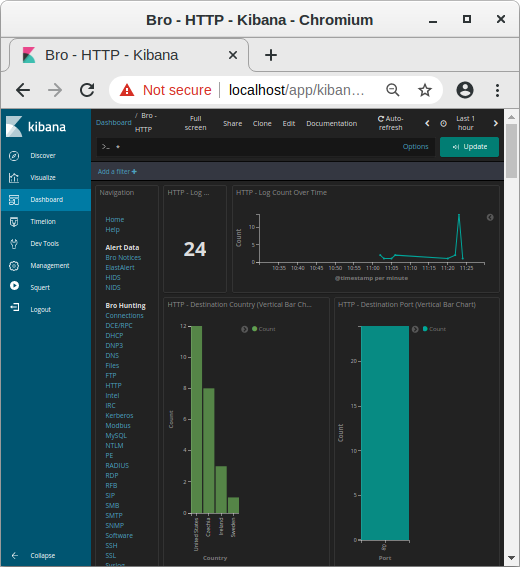 Image: Kibana showing HTTP traffic info from decrypted HTTPS sessions
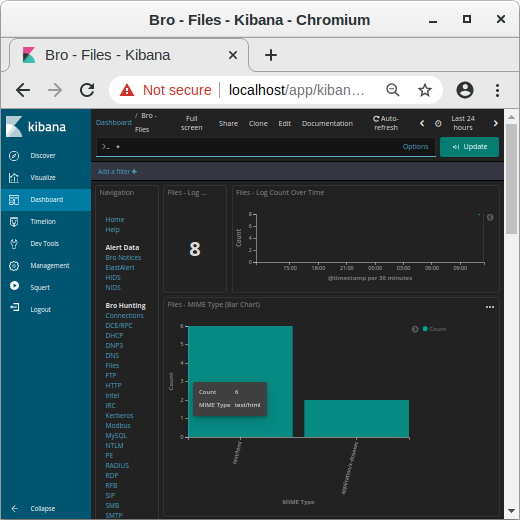 Image: MIME types in Kibana
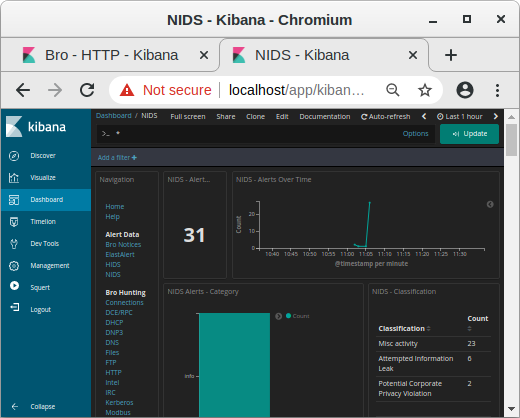 Image: NIDS alerts from payload in decrypted traffic shown in Kibana
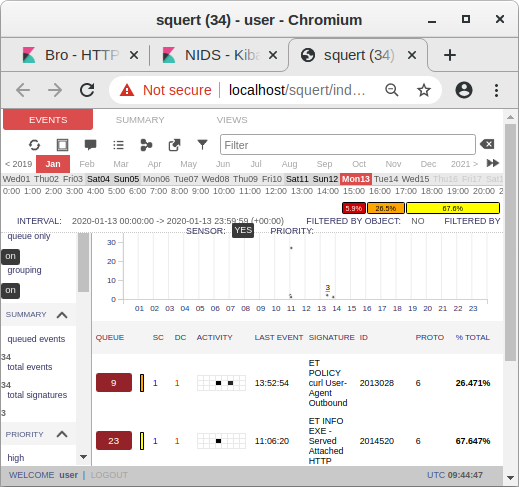 Image: Snort alerts from decrypted traffic shown in Squert


